Showing posts with label crafts. Show all posts

Monday, April 11, 2011

Cute Clipboard

This year, I decided to start coaching girl's softball. No! I don't have a child playing. No! I don't have a niece playing. No! I don't have even a friend's child playing. I just love the sport and since I am too old to play (and I'm NOT playing slow pitch), I'm coaching. "If you can't play, coach!" Right!

Anyways! Tuesday was placement try-outs and I wanted a clipboard to write on. We bought a clipboard from Walmart for $1 and I decided to dress it up and give it so style.

Supplies:
Clipboard-$1
Mod Podge-$8
Scrapbook Paper-$.59 (unless on sale)

Difficulty: Easy
Time:30 minutes


1. Spray paint the back and sides of the clipboard. You can keep it wood if you like it but I wanted something different.


2. Trace around the metal part of the clipboard. I don't think you can Mod Podge on metal but I could be wrong.


3. Using a foam brush, paint on an even layer of Mod Podge on the clipboard. Lay your scrapbook paper on the clipboard, making sure that the bottom edge is even. Then paint on an even layer of Mod Podge on top of it. Don't wait for the bottom layer to dry before you do the top. You get more air bubbles that way and (as seen below) when you have an air bubble, you can't get it out.


4. My paper was a little smaller than the board so I cut strips of solid colored paper and put it around the edges of the clipboard.

5. I had an air bubble and I thought that I could just pop it but it ended up ripping.

6. Being crafty as ever, I just made a circle and glued it on top and then put another layer of Mod Podge on top. I Love it!!! Too bad they had clipboards at try outs so I didn't use mine. Oh well! Now I have a cute clipboard.

Tuesday, March 29, 2011

Giveaway-Marble Magnets


Today's Giveaway is 6 of my super cute Marble Magnets. To enter you need to be a follower of my blog and for an extra entry comment on this post about some cute home decor items that you want to make for your home. No entries after midnight. Winner will be announce tomorrow.

Tuesday, March 22, 2011

Growth Chart


I've been planning to make G a growth chart for months now. I've even had the supplies but with the weather being COLD and me being a SLACKER, I haven't done it. But the weather was in the 60's the last couple of day so I thought that I would get outside and start crafting.

Supplies:
Wooden Fence Post
White Paint
Colored Acrylic Paint
Wooded Shapes (Optional)

Difficulty: Easy
Time: an Hour
Cost: $10 if you have to buy white paint

1. Start off by sanding your board.


2. Paint it with the white paint. 2-3 cost best for even coverage.


3. Use a measuring tape and measure out feet and mark it on the board and paint it with the acrylic paints.

4. If you don't want to decorate your board then you are done (and truth be told, If I hadn't already painted my circles I would have called it good) but if you want you can buy a bag of wood shapes at JoAnn's for $2. Paint them with the same acrylic paints that you painted your numbers and let them dry.


5. Then using wood glue, the circles to the board and to each other. And Puff! A pretty awesome growth chart!


So...On a side note, I have an amazing helper. G loves to help, no matter what I'm doing. While he was playing outside I thought I could run inside and grab the same paints off the table (I forgot them). When I came back out (literally not more than 10 seconds) this is what I found. I asked him if he stepped on mommy's board and he looked me straight in the eyes and lied to me...What do you expect from a 2 year old? Honesty? I think not!


More of my awesome "helper". You can still see the gouge marks where he "painted" but it will be a great story to tell when he's older and asks...why are there all these marks? Because of you my boy...Because of you!

Monday, March 21, 2011

Flat Marble Magnets


I've seen these really cute magnets at friends' houses and cute decor shops like Rod Works and I knew that I could make those AND do it cheaper than the sold them for in the stores.

Supplies:
Flat Bottom Marbles (I found these at the Dollar Store)
Mode Podge
Scrapbook Paper or Pictures
Magnets
Hot Glue Gun/Glue

Difficulty: Super Easy
Time: 30 minutes + Drying Time
Cost: Under $15

1. Take a Flat Bottom Marble and trace the bottom on any scrapbook paper. You can also use pictures if you like. Those are really cute too.


2.When I first stared, I tried to trace them on a large piece of paper and it just didn't work. So I started cutting small squares of paper and THEN tracing them. That work lots better. Each marble is a different shape and size so keep the marble with the paper or else it would be a pain to put them back together. (I started this project and Lil G was "helping" too much so I had to stop until he went to bed, so I taped the paper to the marble. Anything to help keep things straight)


3. Take Mode Podge and, using a foam brush, pain a thin, even layer over the paper.


4. Then take your matching marble and press the paper firmly for about 20 seconds. Set aside. (I used some glittery paper and found that they didn't stick as well as the plain paper)


5. Paint another thin, even layer on the back of the paper. Set aside and let dry (I let mine dry over night).


6. Affix the magnets to the back of the dried magnets. The magnets I used had sticky stuff on the back but I didn't trust them so I use a thin layer of hot glue.


I love these. They are super easy and way cute and they are done in no time. Great to dress up your Fridge! Try it out!

Thursday, February 10, 2011

Money Munching Monsters Tutorial


Last week, Studio 5 (a local craft, fashion, cooking, EVERYTHING show) had a $5 challenge (I've posted about it earlier, Here) and I knew I just had to enter. The rules were you had to make something using only $5 and you had to use 1 item that you already had on hand. I thought long and hard on it and decided that I was going to make something for all the boys out there. You always see "girl" crafts (bows, skirts, tuts, etc.) but being a mother of boy it's hard to find cute crafts for them so I search the web and found something that I could make but that I wanted to put the "Jessica" touch to. I made 2 of these with the allotted $5 and I only had an hour to go shopping, make it, write up my entry, and send it in (I wasn't procrastination, my hubby didn't get paid until that Friday and we only have 1 car so I had to wait for him to get home before I could go shopping). Needless to say, it's a really simple craft, especially if you are a sewer. Just a side note, I took these pictures in a hurry so I could write up this tutorial so if the pictures are a little blurry, I'm sorry!

Things needed:
1 colorful Washcloth (on hand) (if you don't have any, Walmart has then in a 10 pack for $4)
1 red Zipper (mine was 7 inches)
12 inches of White Rick Rack
Large Googly eyes

1. Start by cutting off the finished edge of your washcloth and cutting it in half (mine where square so it didn't matter which Half I cut it).


2. Take one half and cut it into half again. You'll have 2 squares (I can't cut straight so mine weren't perfect but you can fix it when you sew the side together. P.S. I know, My towel is stain. I used the cleanest one for the actual contest. Sorry!)


3. Cut one of the squares in half horizontally (this is for the mouth).


4. Cut your Rick Rack in half (6 inches) so that you have 2 pieces.


5. Open your zipper (NOTE: if your zipper is bigger than your project, it's ok. You just have to sew over it a bunch of times when you sew the sides), place the rick rack between the zipper and the towel and sew. Make sure the rick rack is sticking out enough so it looks like teeth.


6. Close the zipper and repeat step 5. Take time to line up the rick rack so they fit like teeth. They don't have to be perfect but the closer the better.


7. Take your other full square and put right on top the "face" square. With right sides together sew around the edges, if your zipper is bigger than your washcloth make sure to go over it a few times.
8. Turn out (this was the hardest part for me, try to sew it with your zipper slightly open and you might not have the problem that I did.) My googly eyes were glue on so I just hot glued them on.


And that's it! It's super easy and really cute! I'm so glad that people actually liked my craft. Thanks everyone, you've made my day!

Thursday, September 2, 2010

Bridal Shower Favors

My little sister is getting married and I'm her Matron of Honor (I like maid of honor better but I guess since I'm old and married I guess I'll use the correct terminology). I'm planning her shower and saw these favors on a craft show called "She's Crafty". It's a Canadian show so if you've never heard of it, that's ok but it's awesome! If you are going to make these you need to start collecting toilet paper rolls way in advance. It takes a while to get enough but you are going to have them anyways, you might as well recycle them and turn them into something cute.
Here's how you do it:

1. You'll need toilet paper rolls, sticky back contact paper (the stuff your mom or grandma used to line the kitchen draws with), and scissors.

2. Measure the TP roll. You would be surprised and how different the rolls can be. I made groups of similar sized rolls and then would only have to measure once for each roll.

3. Measure out the same amount of contact paper as your roll and cut one long piece.

3. Measure around the TP roll. I found it was easiest to use a paper tape measure since it's easier to measure circles with it. Then cut your long piece of paper into 2 smaller pieces. It's ok it they are a little larger. They will over lap or be folded so you wont be able to tell.

4. Take off the paper from the stick back of the contact paper.

4. Wrap the paper around the TP roll, being careful to push out any air bubbles. (It's not super sticky so if there are bubbles or anything you don't like you can take off the paper and try again.)

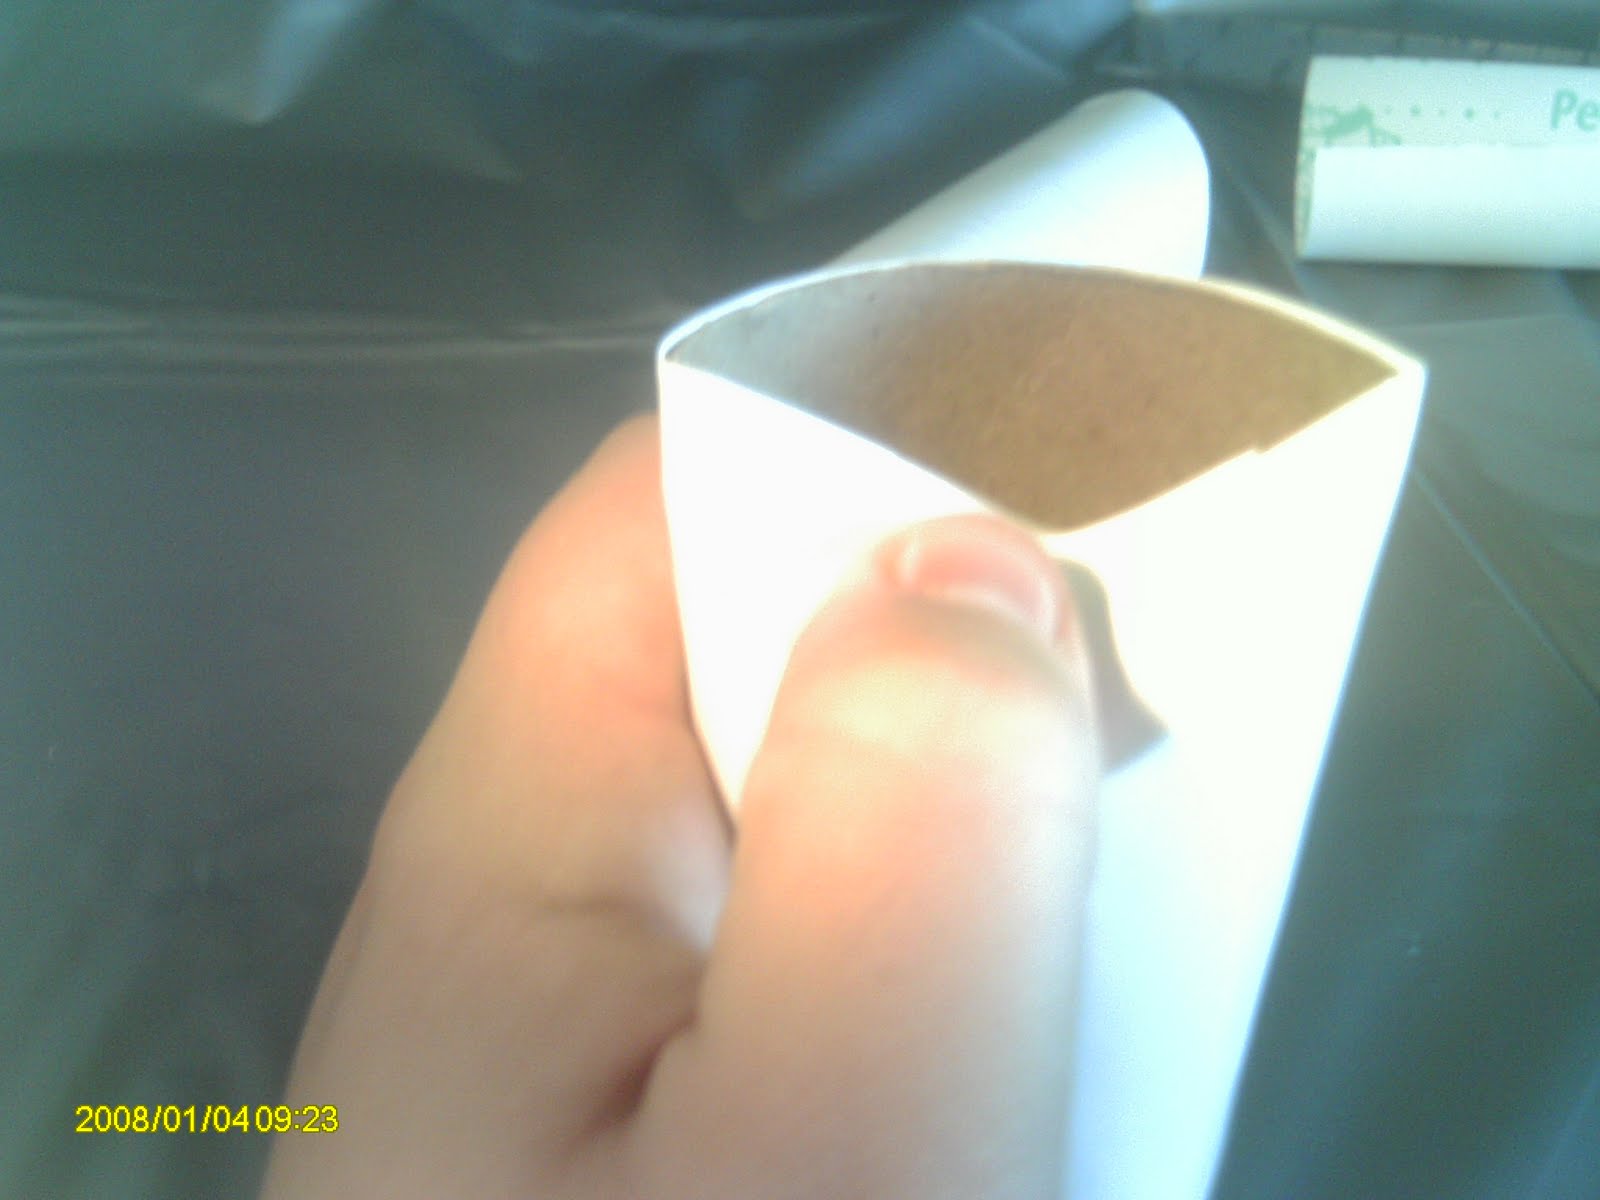
5. This is what the roll should look like after you've rolled it. Nice, clean, tube that you would never know was a toilet paper tube.

6. Fold down half of on side so that it's almost perpendicular to the roll. (Like above)

7. Fold the other side down so that it folds over the first side. Fill the rolls with candy (I'm going to fill it with Kisses) Repeat step 6 and 7 to the other side of the roll to close up the roll.

8.This is what you'll end up with. A nice favor that is ready to embellish. I found a rubber stamp that says all you need is love and I'm going to use a blue ink (my sister's wedding colors are black and blue) and stamp it on the front of the favor.

I thought that this would be a nice little take home favor to give to the guests as they leave.

Tuesday, August 17, 2010

Date Night Jar

My husband and I have only been married for 3 ½ years truth be told, we don’t get a lot of dating/one on one time. So I’ve decided to make it a tradition to have a weekly date night. Since the hubs works nights, that can be difficult with a 21 month old but I have solved that puzzle. I made a Date Night (or in our case-Day) Jar. I searched for fun date ideas that we can do, either when G is napping or for an hour with a baby sitter. Every Sunday, we are going to pick an activity and then decided which day is best of us to do because for us a set schedule isn’t going to work. I’ll be posting most of the activities that we do but first, here is a tutorial on how I made my jar.

1. I search date ideas online and printed them out. I cut them into strips of similar size.


2. I found an old jar (mine was a pickle jar) and washed it out really good. Then I printed out Date Night and attached it to the jar with heavy duty tape and filled the jar with the strips.


3. I cut some tulle and ribbon about 2 feet long, then I tied them the jar to make it look cute.


4. I spray painted the top of the jar with some paint I had left over and put some cute scrapbook paper on it. The paint was still tacky when I put down the paper so I didn’t have to use glue but you could use Mod Podge to attach it.


It turned out really cute and I can't wait to start using it on Sunday!