Here's how you do it:
 1. You'll need toilet paper rolls, sticky back contact paper (the stuff your mom or grandma used to line the kitchen draws with), and scissors.
  2. Measure the TP roll. You would be surprised and how different the rolls can be. I made groups of similar sized rolls and then would only have to measure once for each roll.
  3. Measure out the same amount of contact paper as your roll and cut one long piece.
 3. Measure around the TP roll. I found it was easiest to use a paper tape measure since it's easier to measure circles with it. Then cut your long piece of paper into 2 smaller pieces. It's ok it they are a little larger. They will over lap or be folded so you wont be able to tell.
 4. Take off the paper from the stick back of the contact paper.
 4. Wrap the paper around the TP roll, being careful to push out any air bubbles. (It's not super sticky so if there are bubbles or anything you don't like you can take off the paper and try again.)
 5. This is what the roll should look like after you've rolled it. Nice, clean, tube that you would never know was a toilet paper tube.
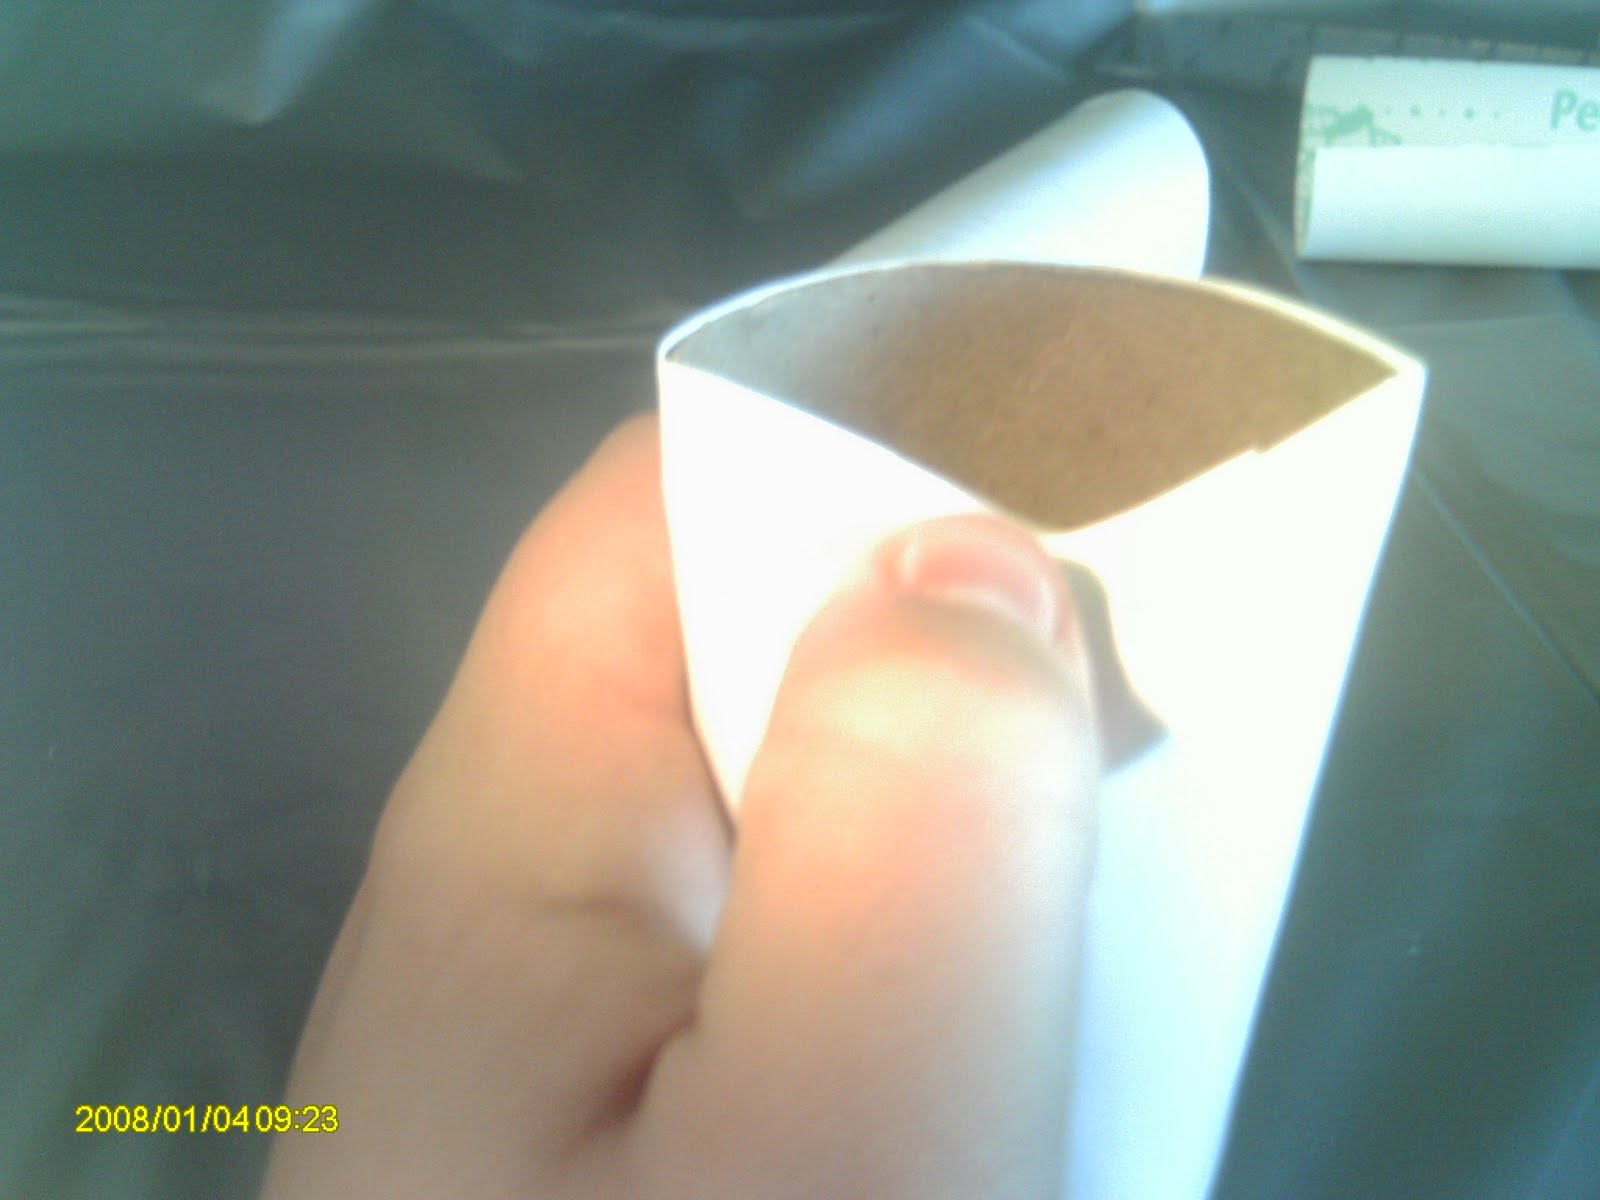 6. Fold down half of on side so that it's almost perpendicular to the roll. (Like above)
 7. Fold the other side down so that it folds over the first side. Fill the rolls with candy (I'm going to fill it with Kisses) Repeat step 6 and 7 to the other side of the roll to close up the roll.
 8.This is what you'll end up with. A nice favor that is ready to embellish. I found a rubber stamp that says all you need is love and I'm going to use a blue ink (my sister's wedding colors are black and blue) and stamp it on the front of the favor.
I thought that this would be a nice little take home favor to give to the guests as they leave.


