Showing posts with label wedding. Show all posts

Saturday, March 12, 2011

Etched Glass Wedding Present Tutorial


Yesterday my cousin got married and invited us to the Reception. Being the Crafty Kid that I am I wanted to do something special. Before we continue I need to tell you a little about myself. I dream big! I want to go all out and be fabulous. One example, for my sister's Bridal Shower I planned to make cake balls hand dipped in chocolate and decorated by hand. When I realized that wasn't going to happen, I wanted to make a sheet cake and on each piece have a handmade blue white chocolate heart. Walmart didn't have blue candy bits, so I ended up just using blue sparkle frosting to make the hearts on the cake.
With that said, I had grand plans for what I was going to make. I knew I wanted to etch a glass casserole dish (I'd seen it here and loved it!) and if I had the money I wanted to make the insulated carrying case for it (from the same site). When I went to Walmart, I found a great deal on a glass pan kit. It had a 9X13 pan, 8X8 pan, a pie plate, a bowl and measure cup. With all that I didn't think the hubby would OK a carrying case too but I could still etch it. It turned out great! I thought I would show how I did it and some of the things I learned while I was doing it.


Supplies:
Glass Pan, Dish, Cup, etc.
Armor Etch
Stencil
Paint Brush

Difficulty: Medium
Time: under an hour
Cost: $10 for etch (at Robert's Craft)
+ the cost of a pan


1. Clean your glass really well before you start. Then attach your stencil to the pan with tape or stencil glue. (Instead of Etching the letters, I was difficult and etched everything except the letters)


2. Using a paint brush glob on the etch in a thick layer (I didn't do mine thick enough so I had to do it twice). What about 5-10 minutes.


3.This is what it looks like after you wait. You can see that it wasn't thick enough. Really glob it on so all you see is white and not the glass underneath.


4. Once you wash it off, dry it and Ta-dah! A Personalized Wedding gift. I really wanted to write more but this pan has a beveled edge on the bottom so that limited my space.


This was really fun! I really don't have patience so these crafts that happen right before your eyes are perfect for me! I hope they like it!

Thursday, September 2, 2010

Bridal Shower Favors

My little sister is getting married and I'm her Matron of Honor (I like maid of honor better but I guess since I'm old and married I guess I'll use the correct terminology). I'm planning her shower and saw these favors on a craft show called "She's Crafty". It's a Canadian show so if you've never heard of it, that's ok but it's awesome! If you are going to make these you need to start collecting toilet paper rolls way in advance. It takes a while to get enough but you are going to have them anyways, you might as well recycle them and turn them into something cute.
Here's how you do it:

1. You'll need toilet paper rolls, sticky back contact paper (the stuff your mom or grandma used to line the kitchen draws with), and scissors.

2. Measure the TP roll. You would be surprised and how different the rolls can be. I made groups of similar sized rolls and then would only have to measure once for each roll.

3. Measure out the same amount of contact paper as your roll and cut one long piece.

3. Measure around the TP roll. I found it was easiest to use a paper tape measure since it's easier to measure circles with it. Then cut your long piece of paper into 2 smaller pieces. It's ok it they are a little larger. They will over lap or be folded so you wont be able to tell.

4. Take off the paper from the stick back of the contact paper.

4. Wrap the paper around the TP roll, being careful to push out any air bubbles. (It's not super sticky so if there are bubbles or anything you don't like you can take off the paper and try again.)

5. This is what the roll should look like after you've rolled it. Nice, clean, tube that you would never know was a toilet paper tube.

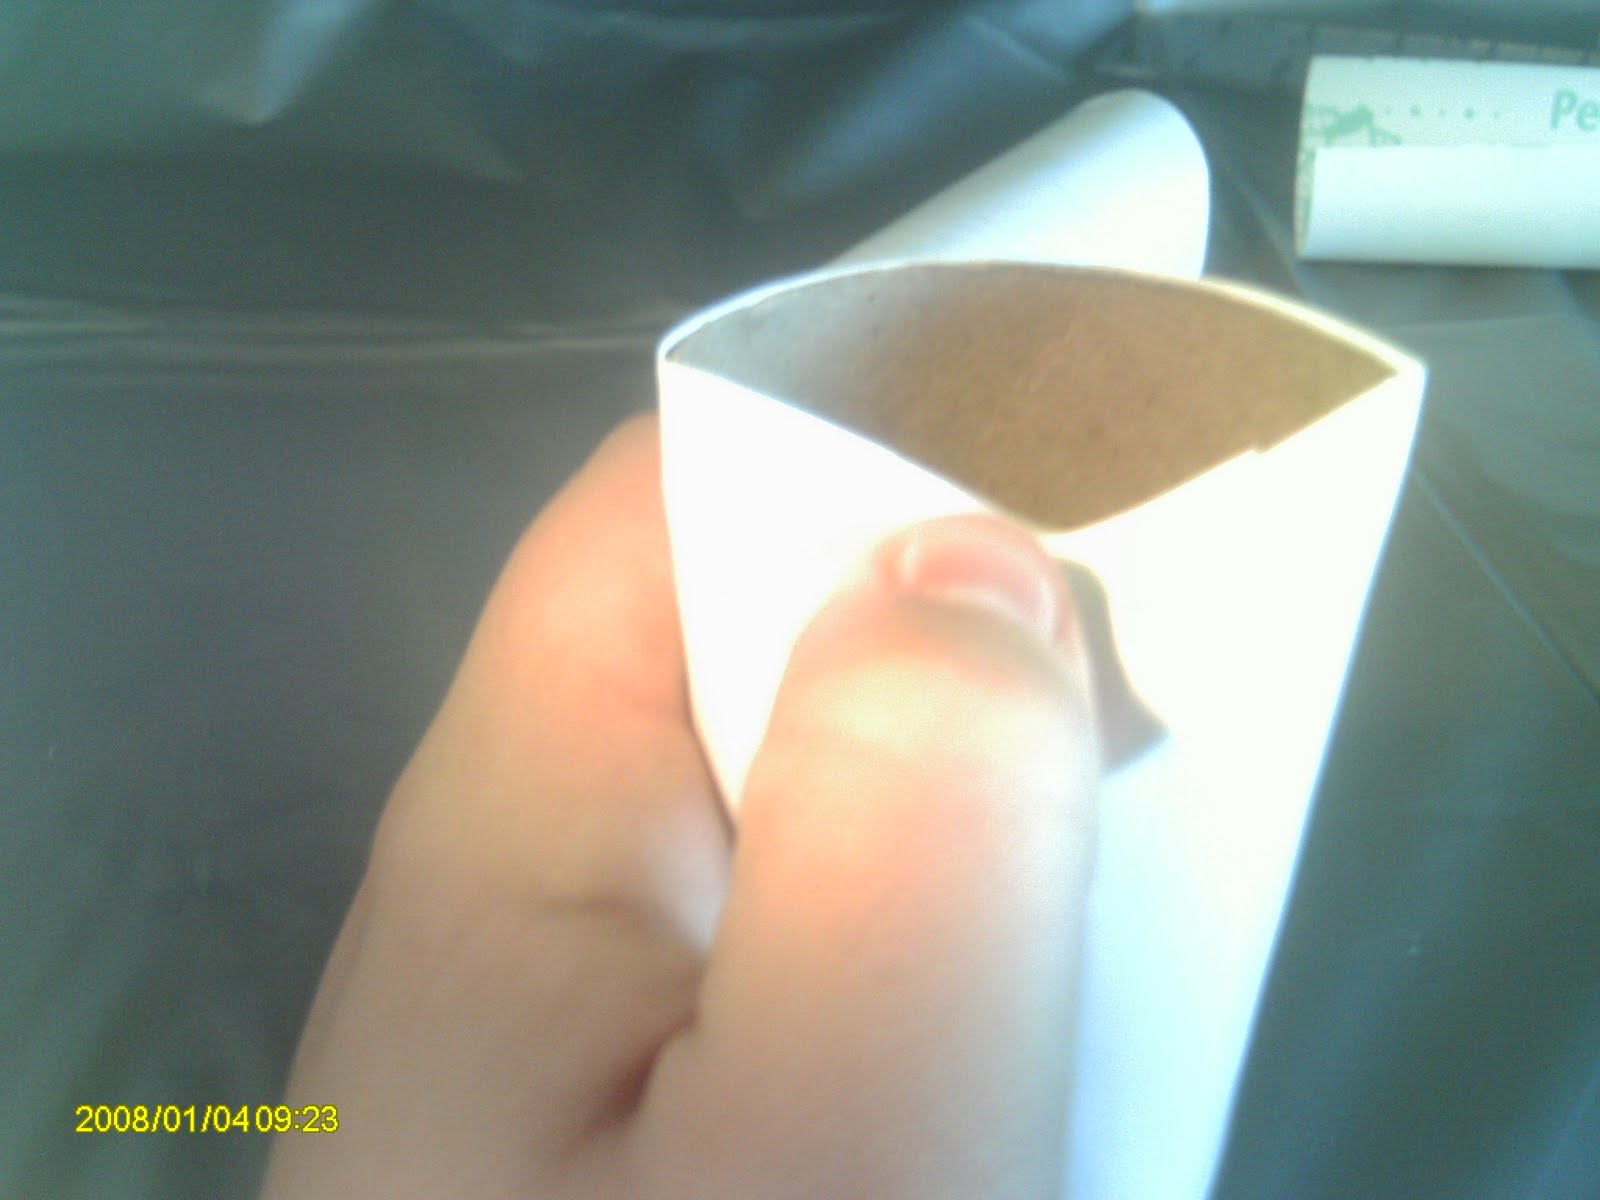
6. Fold down half of on side so that it's almost perpendicular to the roll. (Like above)

7. Fold the other side down so that it folds over the first side. Fill the rolls with candy (I'm going to fill it with Kisses) Repeat step 6 and 7 to the other side of the roll to close up the roll.

8.This is what you'll end up with. A nice favor that is ready to embellish. I found a rubber stamp that says all you need is love and I'm going to use a blue ink (my sister's wedding colors are black and blue) and stamp it on the front of the favor.

I thought that this would be a nice little take home favor to give to the guests as they leave.